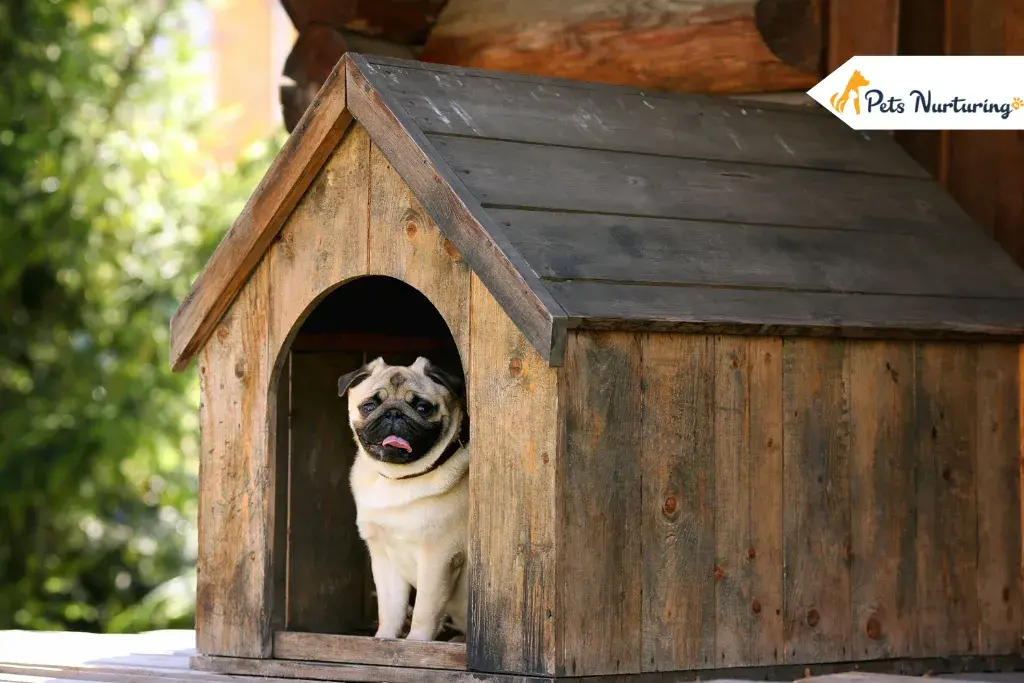
Every dog needs their own space. We have our own houses where we enjoy ourselves. In the same manner, even our dogs need their own houses. Having a pet at home is like having a small child. Dogs are choosy and emotional about their home and the place they live in. So why not build them a house that gives them their own space. Many of you must have this question of how to build a dog house? Usually, pet owners buy dog houses for their dogs, but ideally, we should build one. While constructing a dog house, you add your love and care., Your dog will enjoy living in a dog house that is built with all your efforts. They will feel more comfortable and safer when they rest in a house built in front of them and most importantly, constructed by its owner.
If you are looking for the right motivation to build a perfect dog house, we are pretty sure this blog will help you. In this blog, we will discuss the entire step-by-step process of how to build a dog house all by yourself. We will even share some tips for how you can add your dog’s preferences to its home. So, are you excited about this? Come, let us begin with making a perfect house for your dog.
Why Build a Dog House?
Usually, most dog owners let their dogs reside with them in their own house. However, it is better to build a dog house outside your home. If you live in a bungalow or a tenement, it is preferable you get your dog a perfect dog house built by yourself. Here are the reasons that will make you understand why it is important to build a dog house.
- Some particular breeds of dogs usually stay on fields or farms. These are the dogs that remain outdoors most of the time. In such situations keeping them continuously inside your home may not be comfortable for them. Thus, building a dog house for them is more preferable.
- According to vets, keeping your little friends outside in the open air will keep them physically and mentally fit. They are very active if you keep them free outside. However, keeping them inside the four walls can affect their health both physically and mentally. So, keep them mentally and physically fit, active, and happy by building a house for them.
- Most notably, building a dog house outside your home will let them stay more comfortable and unrestricted. They can do anything and everything they want to do outside the house in an open area. They are not bound to behave well as they have to when they are inside the home.
- Many dog owners send their dogs outside the home when they have to attend guests at home or go to work or somewhere out. Thus, it is beneficial to build a dog house outside your home to keep them safe when you are not around. At least, they will have a space for themselves where they can stay safe and freely.
Now that you have learned why building a dog house is essential, you need to understand how to build a dog house by yourself.
How to Build a Dog House: Step by Step Process
First, go through the image that covers all the tools and materials required for building a dog house out of pallets.
The most essential and basic requirement is the wooden slabs that are the base material for building the dog house.
Now, that you have all the essential tools and materials required to construct the dog house, follow all the mentioned steps in the particular sequence to understand the method better.
Draw and Cut
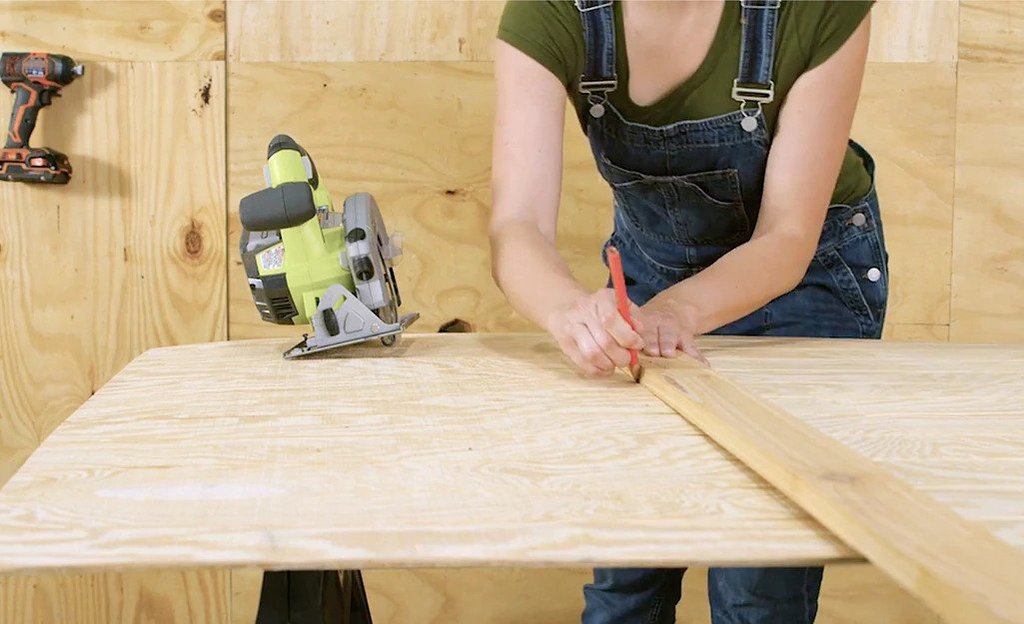
The first step is to cut the basic outline c structure of the dog house. To have a better and ideal dog house, it is better to cut down the wooden slabs into particular measurements. It will make your other process easy and less time-consuming. Before making the main dish, we cut down the vegetables that are required, in the same manner, we cut down the slabs in particular shapes and measurements for creating a perfect dog house.
We have discussed the standard measurement over here; you can customize the height according to the size of the dog house.
- Two pieces: 20 by 32′ inches for the rooftop.
- Two pieces: 25 by 31.75′ inches for the front and the back of the dog house.
- One piece: 22.5 by 26′ inches for the base or the flooring.
- Two pieces: 19.75 by 25 or 26′ inches for both sides of the dog house.
All the measurements we have discussed are decided based on an average-sized dog breed. You can alter them as per the size of your breed. You can also check this out about different types of dog house.
Design and Cut the Outline of the Entrance
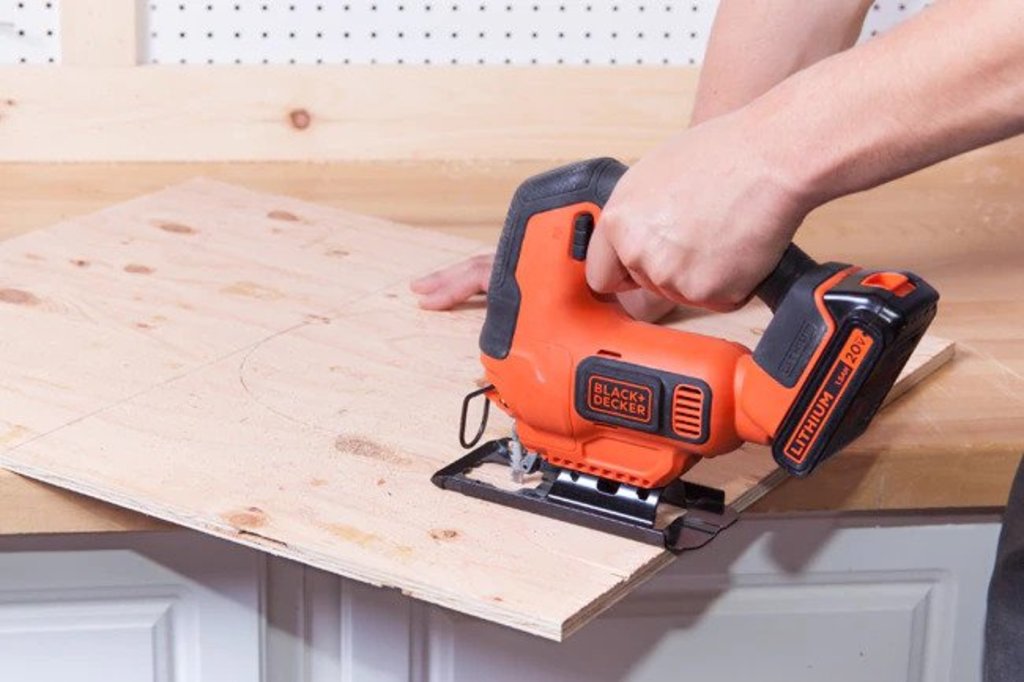
Select one of the slabs or plywood you have cut for the front and the back of the dog house. Please read the measurement details carefully to avoid any mistake that can create discomfort for your dog.
- Around 4.75 inches high from the ground level, draw a horizontal line using a square object. The other horizontal line is drawn horizontally 18.75 inches above the ground level. The first line is the bottom of the entrance, and the second line is the top of the dog house entrance.
- Using a large plate, draw the curve on the top of the top horizontal line. Ensure that the curve you are designing is in the exact center of the entrance to maintain the correct alignment of the look.
- Once you are done with marking and drawing the door, now start cutting the outline. Use BLACK+DECKER for cutting the slab according to the size. Ensure you have minimized the speed of the machine to avoid any harm to yourself while cutting the wooden slab.
Cut the Sides and the Base
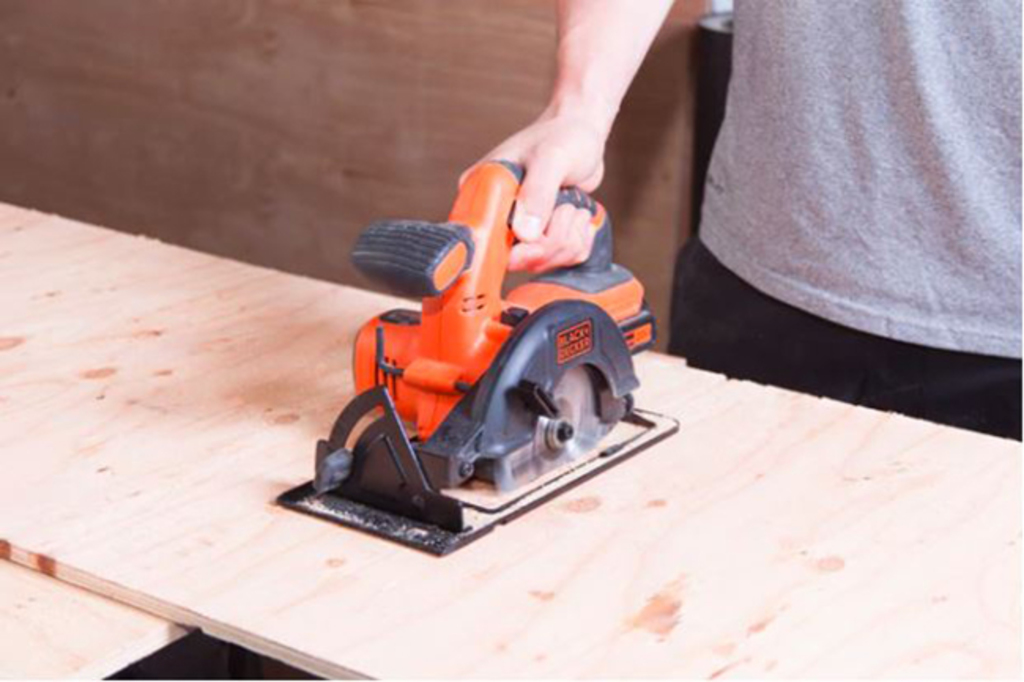
After designing and cutting the main entrance, it is time to cut and prepare the side blocks. Again, please maintain the sequence so that you do not get confused with what to do next or how to move forward. For cutting the sides and base, be patient and slowly cut the markings as mentioned below.
- Four pieces: 13 to 14 inches long to give support to the rooftops.
- Four pieces: 15 inches long for providing support to the sides.
- Two pieces: from a two-by-four pressure-treated board. Measure 22.5 inches long for the ends on the base.
- Two pieces: from the same 2*4 boards, measuring 23 inches long for both the sides on the base.
Cut the wooden base precisely according to the measurements we have discussed over here. Different measurements or even a slight difference can unlevel the entire dog house. And we need to be very precise that building a dog is not a difficult task, but it can be challenging at times.
Cutting the Roof Angles
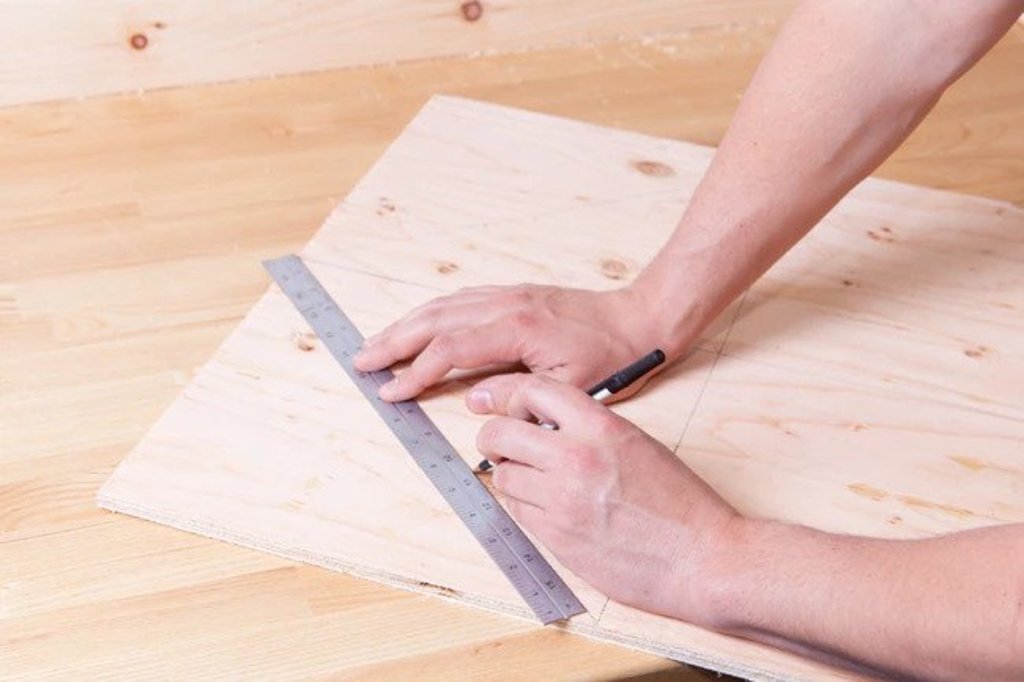
After the sides and the base, cut the rooftop. Before cutting it, angling it precisely is essential. Even a tiny mistake in the angling of the rooftop can disturb the entire construction of the top and can destroy the whole layout of the dog house. Thus, when any dog owner searches for this question of how to build a dog house, every professional asks to be patient enough to construct it.
- Outline 31.75 inches vertical or standing line from top to bottom. Keep it 24 by 31 inches centered from both sides. Both pieces of wooden slab or the ply are for the back and front of the dog house.
- Ensure the markings are in the center on each slab and are 19.7 inches high from the bottom or the edge of the dog house.
The entire process can be a bit confusing. Therefore, to ensure that you follow the correct methods and steps, be very patient and understand all the steps nicely before practically implementing them on the wooden slabs of plywood.
Constructing the Base
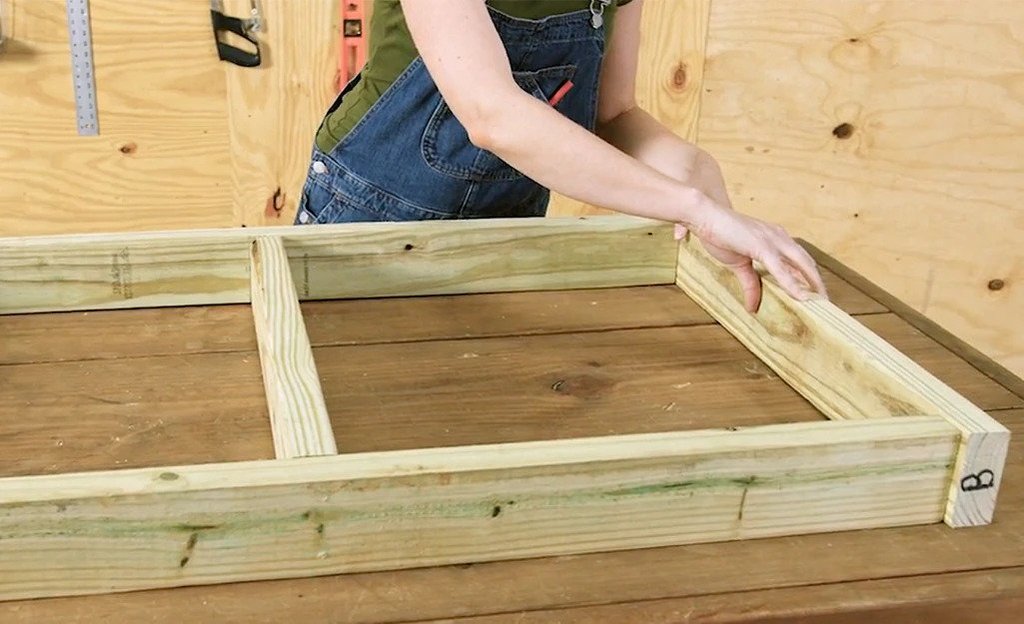
Till now, we have prepared all the single pieces of the house. Now, we have come to the juncture of building the base for the dog house. ou have made all the single details ready, it is time to assemble them step by step.
- Start placing the 23inches side bases between the 22.5 inches end of the bottom. Assemble them to form the bottom of the dog house, measuring 22.5 by 26 inches together.
- Drill a pilot hole on both the ends of each wooden piece of 22.5inches. Ensure that they are placed evenly or correctly. Now assemble and fix the entire frame altogether, using a driver. Use 3 inches long exterior wood screws to ensure the fixing is perfect.
Construct the Main Box
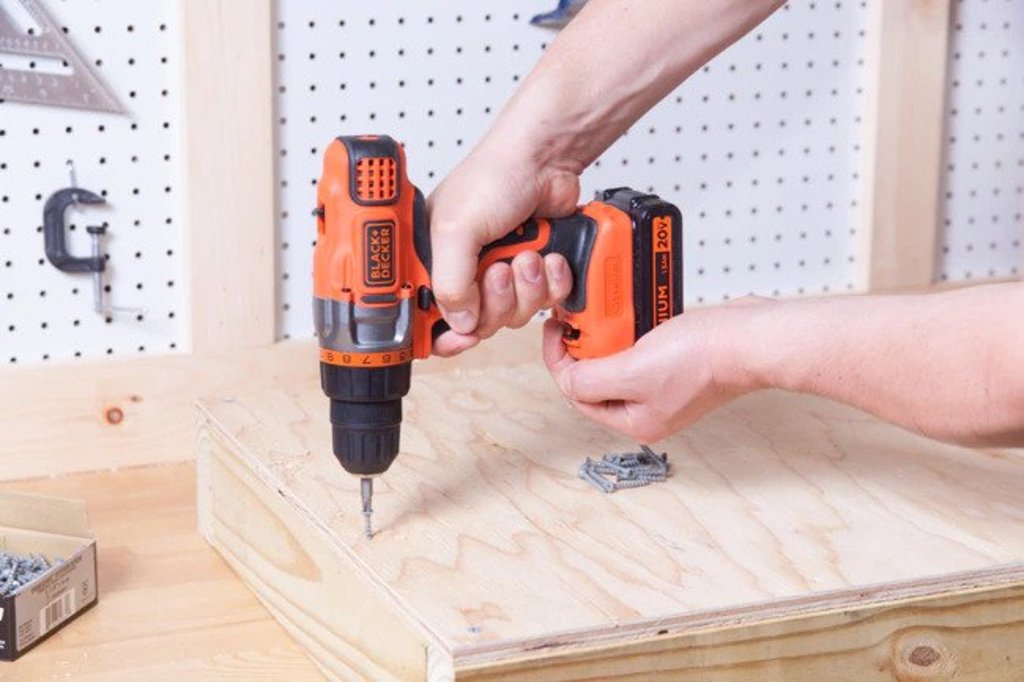
Set both the side slabs that you have cut for the sides and place them above the bottom of the flooring slab.
- Using 1.75″ long screws, drill on the wood or the ply towards the base on every side, with a regular spacing distance to secure it sturdily. Now you have to drill four pilot holes on all four corners for side supports of 15 inches fir.
- Ensure that there is 4.75″ recessing space from the bottom of all the sides. The 15″ fir plots must be shorter than the 19.75″ plywood.
- Now stand all the side pieces on the bottom base. Ensure it allows all the ends from the fir side to stand straight firmly on the ground carrying the bottom base.
- Please confirm that the 4.75inches plywood or the wood recess is overlapping the base. Then, in the end, screw all the side bases while overlapping the plywood or wood with the help of a 1.75inch screw from all the sides.
Assemble All the Front, Back, and Supports Together
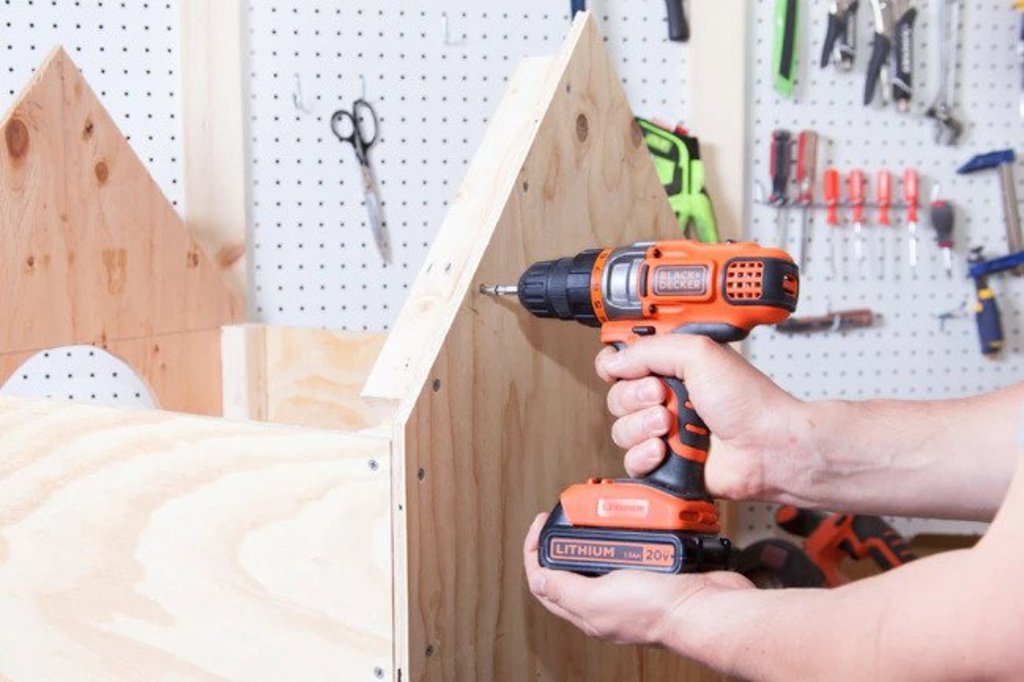
Assemble all the front back and support standing together. Fitting the back of the slab to the frame ensures sturdiness. Next, screw the base to the back support or slab of the dog house with 1.75inch long screws at regular intervals of distance. Finally, fit the 1.75 inches screws on all the sides to secure the strength and sturdiness of the house.
Start screwing 13 to 14inches fir roof to the innermost of all the four-sided angles. Ensure that it covers all the angles evenly to ensure the covering is done correctly to avoid any discomfort to you later. Use 1.75inch screws for fixing all these sides nicely so that it won’t hurt your little friend while entering the house.
Building the Roof
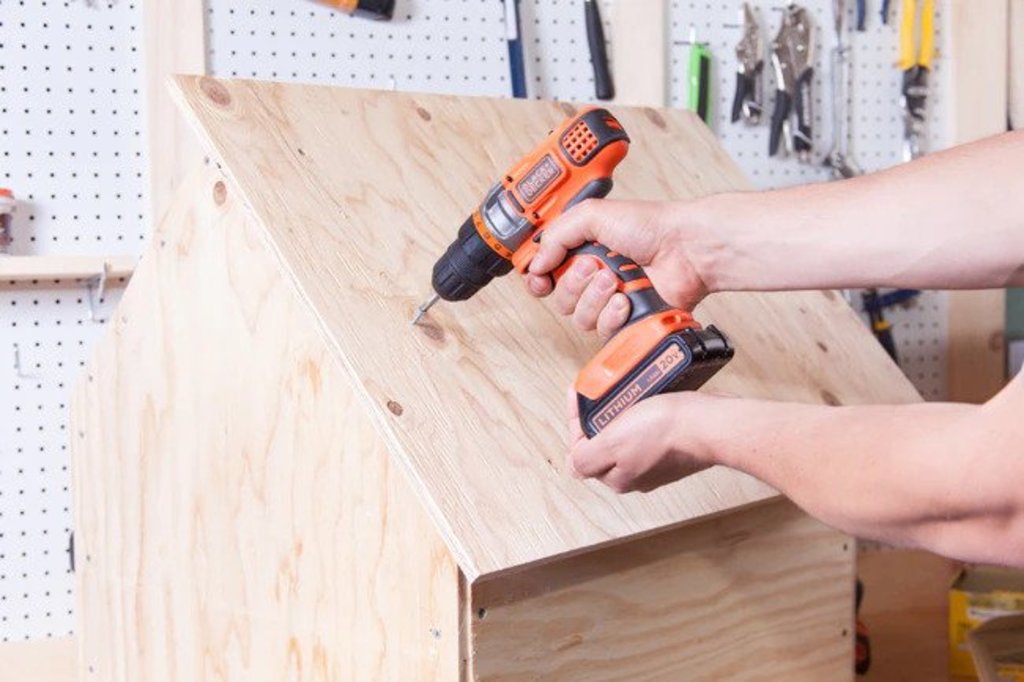
- Set the 20 by 32inch ply or wood, cut for the roof on one of the sides of the angles. The most important thing is ensuring the ultimate roof piece is flushing with the front and the backs of the peaks.
- Both the hangings of the roof must be equally set on both ends.
- Taking for to five 1.75inch screws, fit the roof pieces with the roof supports on every side.
- Now, take the 20.75 by 32inch piece on the other end of the side angled roof. It should overlap the 20inch piece of the ply from the peak to the roof.
- With the help of BLACK+DECKER, peek into the house and check whether any kind of screws are coming from the walls or not. Try to brush them or smudge the edges to block the pointedness of the screws that can hurt your dog.
Installing the Roof Felt
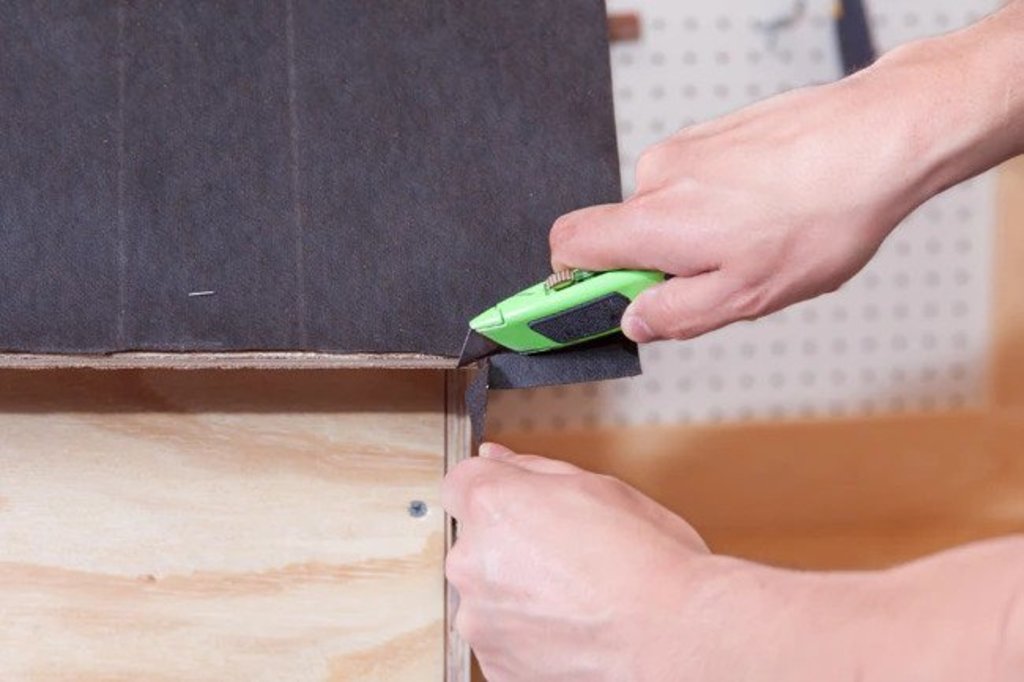
Now that the rooftop is ready, it is time to add the roof felt to the roof. It is beneficial to use single sheet asphalt roofing felt to cover the roof. Using the staple gun, secure the roofing felt to the roof. To provide clean and neat edges, you can cut off the extras of the sheet on the edges.
Add Roof Capping and Shingles
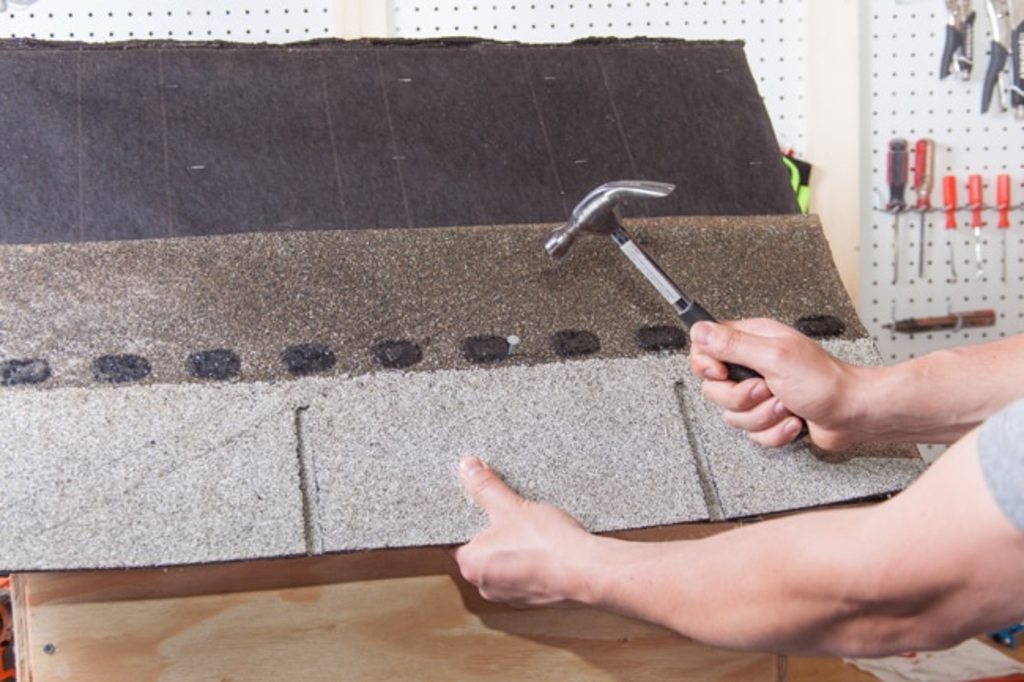
Install the shingles on the bottom of the roof, facing downward. Fix and secure it with the rooftop, with the help of five 0.75inch roofing nails(galvanized). Now, overlap all or the two shingles and screw them to the tabs. Ensure you are not lining it with the other two shingles.
Cut the four shingles into three. Ensure that they are not overlapping, or else you have to clean up and adjust many things later.
Decorate the Dog House
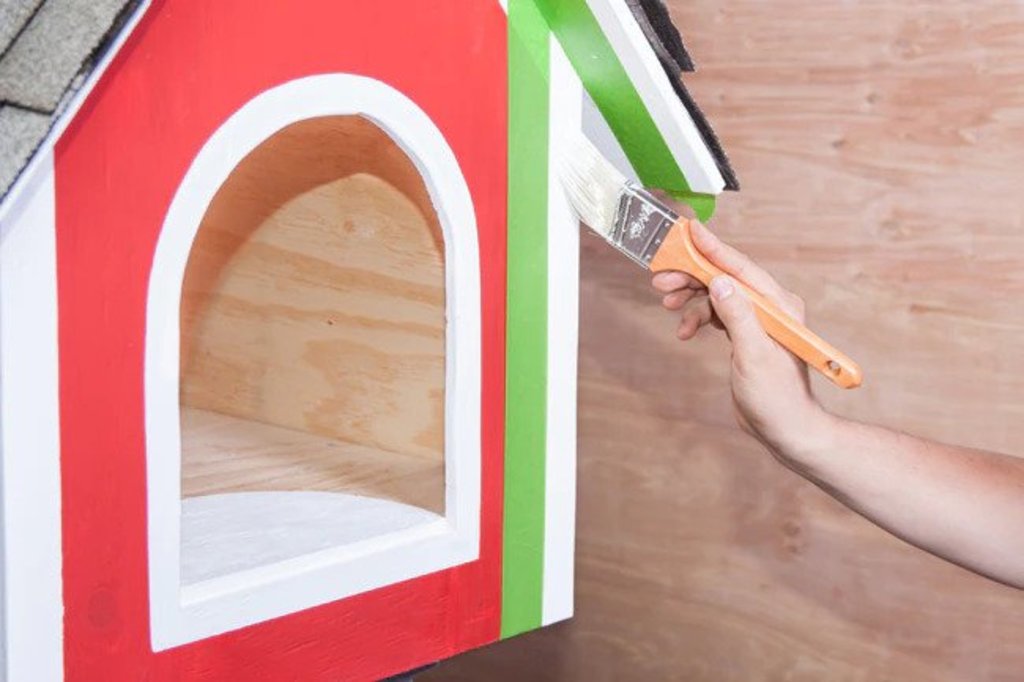
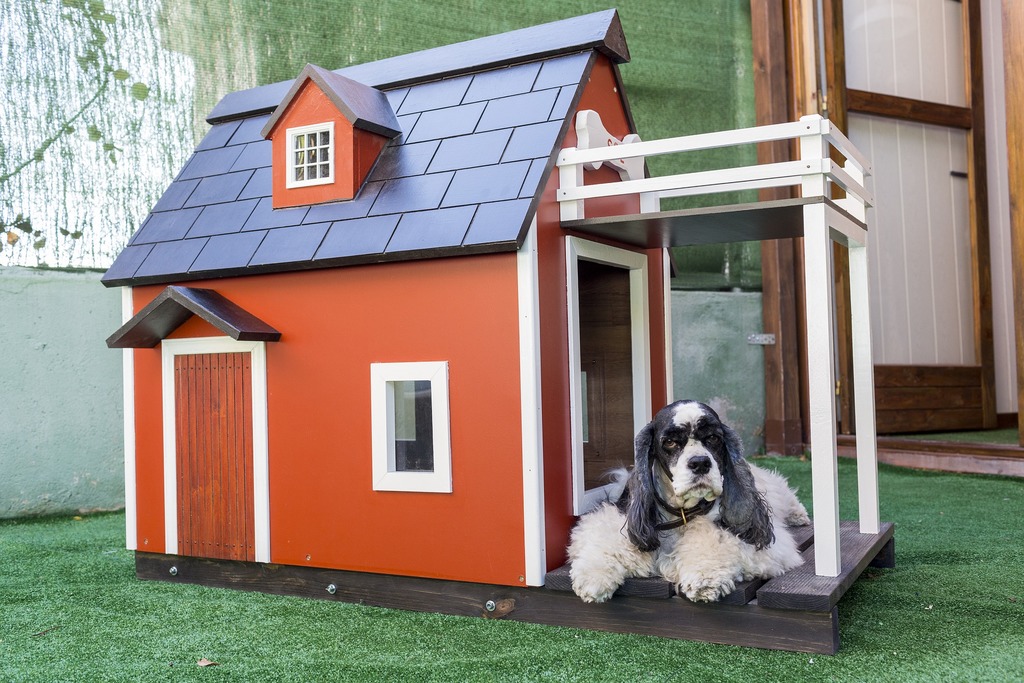
This is the most awaited part of how to build a dog house. Here, you can ask for your dog’s suggestions too. You can shortlist the colors for painting the dog house. Dogs are very particular regarding colors. Thus, you can allow them to choose what color they want for their dog house.
You can even add some cushions or soft, supportive objects inside the house to help them stay comfortable inside the dog house. You can even add some attractive wallpapers inside the dog house. However, suppose you are planning to add wallpaper for the interior side of the dog house. In that case, you will have to apply it while assembling everything together.
The Conclusion
With this, we have come to the end of the blog. We are pretty sure the blog must have answered all your questions and confusion regarding how to build a dog house all by yourself. You just have to ensure that you follow all the steps in the sequence we have mentioned over here in the form of a step-by-step guide. We have also mentioned some essential tips to help you build the house quickly without any mishap or hurting yourself.
For more information :


